Tagaytay is known as the pineapple city in the southern region of Luzon and this city is just 20-minutes away from our home.
When in season Pineapple is so cheap, one piece of small size cost 10-20 pesos whereas the biggest at around 50-60 pesos. During off season, which is usually during the rainy weather, the smallest costs 50 pesos.
Since I love Pineapple, I thought maybe I should create my own homemade pineapple juice and preserve them so I have regular supply of fresh juice rather than buying the branded and canned juices, which is expensive!
Using my knowledge in Food Chemistry- which by the way is one of my undergraduate subjects before completing BS Chemistry, I thought why not put it in use? So the best way to preserve natural juices is through Pasteurization process.
What is Pasteurization then? It is a physical process based on the heat treatment of liquid and solid foods to substantially reduce their microbiological load by controlling temperature and time. This technique allows the elimination of microorganisms that cause food spoilage or are a problem for food safety. Pasteurization consists of heating a food to temperatures below 100ºC for a several minutes or seconds, and then rapidly cooling it. The times and temperatures vary accordingly on the food being processed.
I think you might be bored reading all these lectures about the process. So let’s jump in on how I created my homemade Pineapple juice.
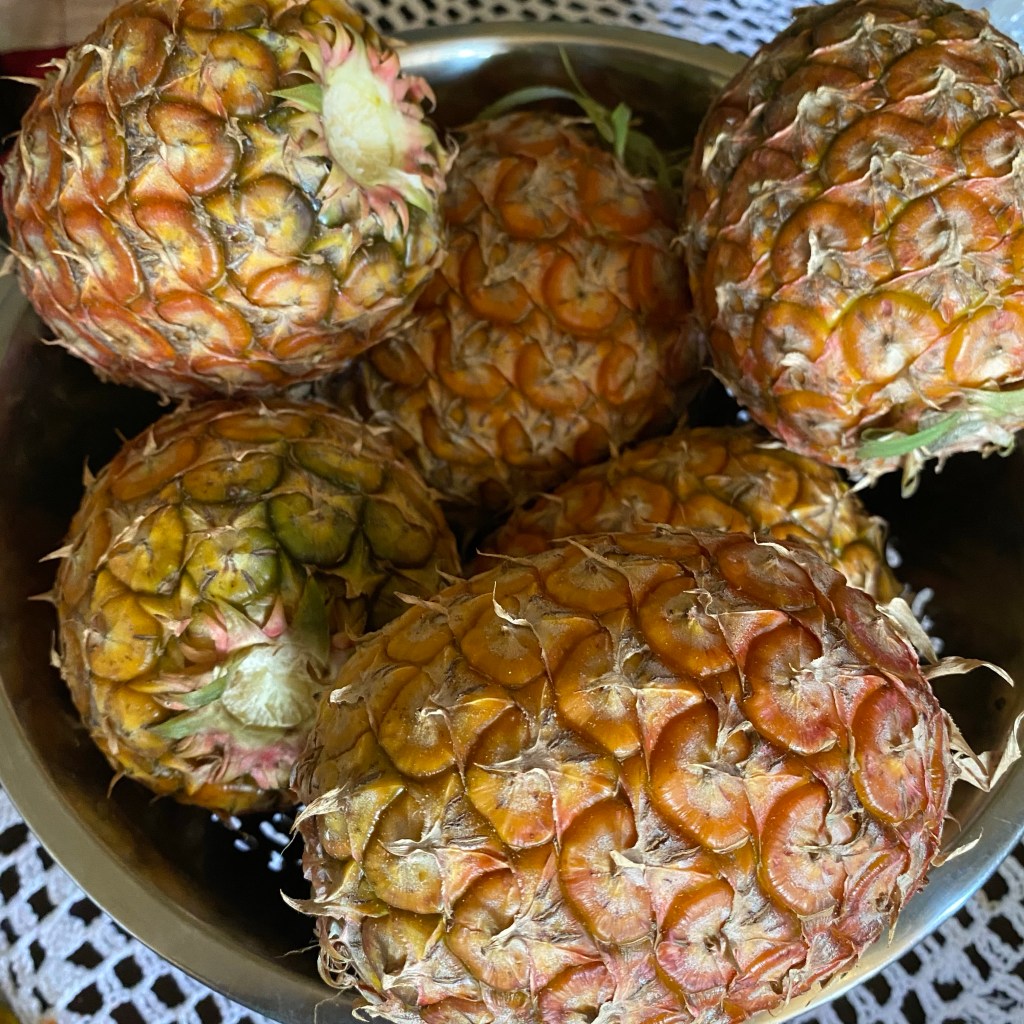
Step 1: Choose ripe Pineapples of course, I recommend that you taste them first if they are sweet. I use sweet variety since I do not add sugar! The juice is gonna be au naturale 🤪 Also make sure that the fruit has no decay or other defects as it also affects the quality of the juice.
Size doesn’t matter, so you can use the small ones, as long as they are sweet and ripe! I use the small ones because they are cheaper yet sweet. Of course you’ve got to remove the crown and wash them properly and throughly! Ensure that you remove any solid material like soil on the skin.
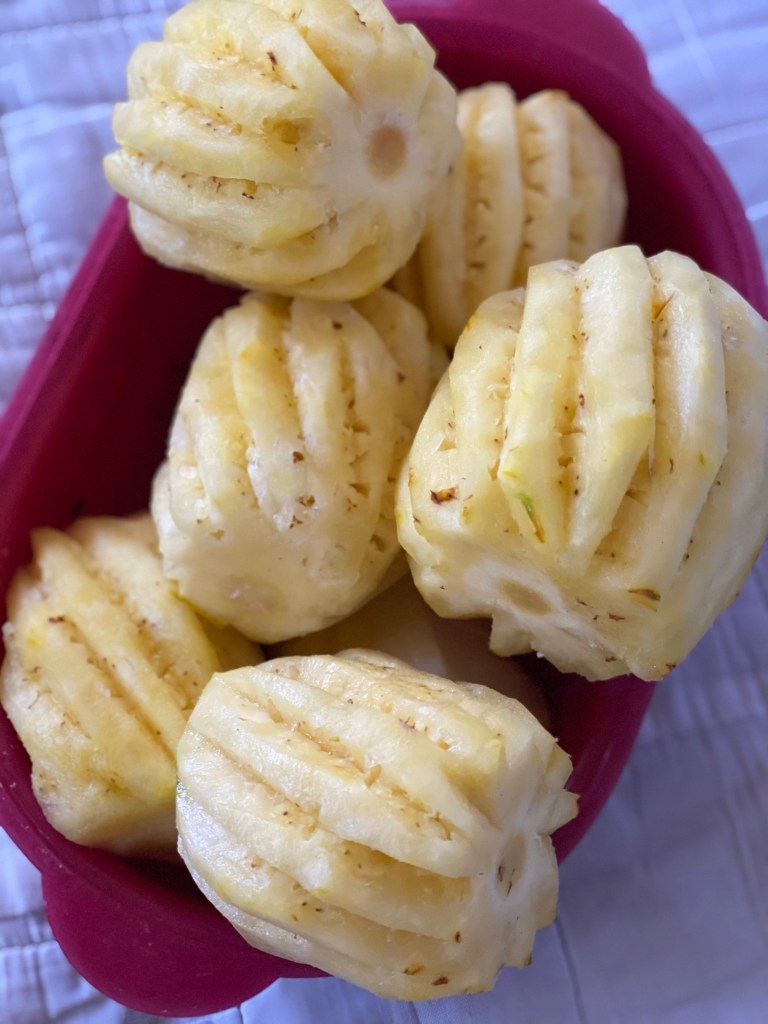
Step 2: Peel them and remove the eyes! Well if you’re lazy you may keep them, but I prefer to remove the eyes so it doesn’t get mixed with the fruit when I blender it.
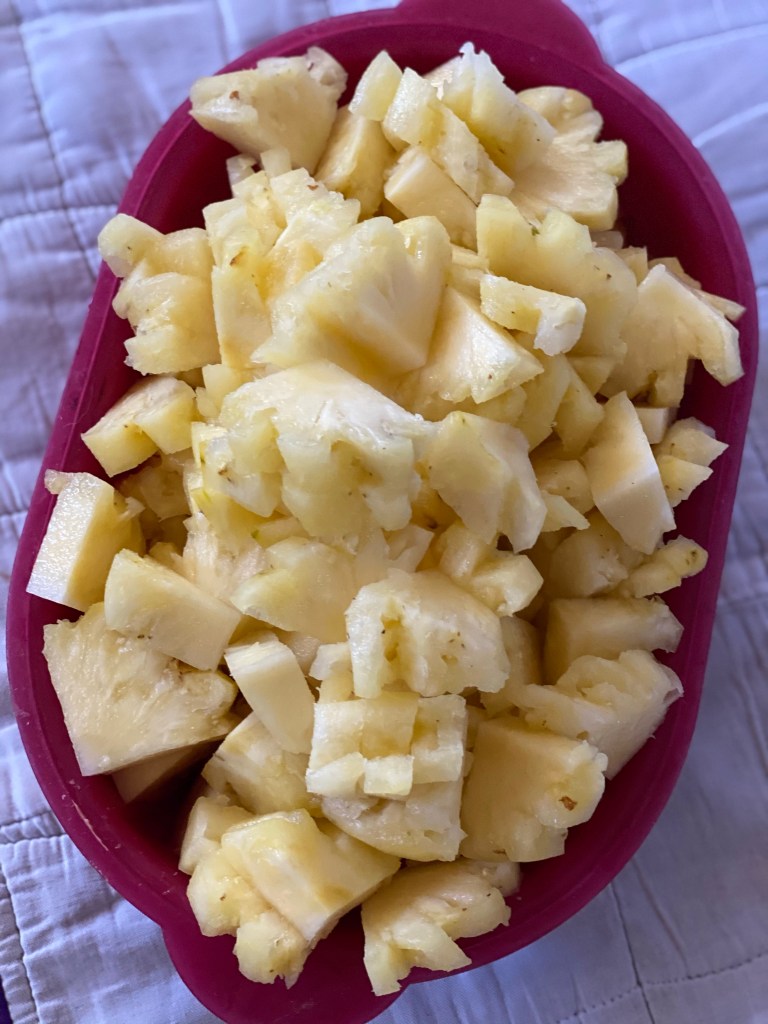
Step 3: Cut into small pieces. Next use a blender, juicer or whatever power machine you’ve got at home to extract the juice. Make sure that everything has been washed and clean. If you don’t have the tools, you can just mashed the small cut pieces until the juice is extracted.
Filter the juice using a clean cheese cloth, to separate the fiber or pulp from the juice. Ooopsss strainer will not do the job, you may use any cotton cloth, as long as it is clean!
Step 4: Pasteurize the juice! First place the strained juice in a clean casserole, I prefer to use stainless steel. Avoid using iron, copper or bronze materials as it has chemical reaction with the juice.
Heat the juice rapidly until it reaches 80 degrees Celsius and maintain this temperature for 15minutes. This is the optimal time for Pineapple juice pasteurization. Use a thermometer to check the temperature.
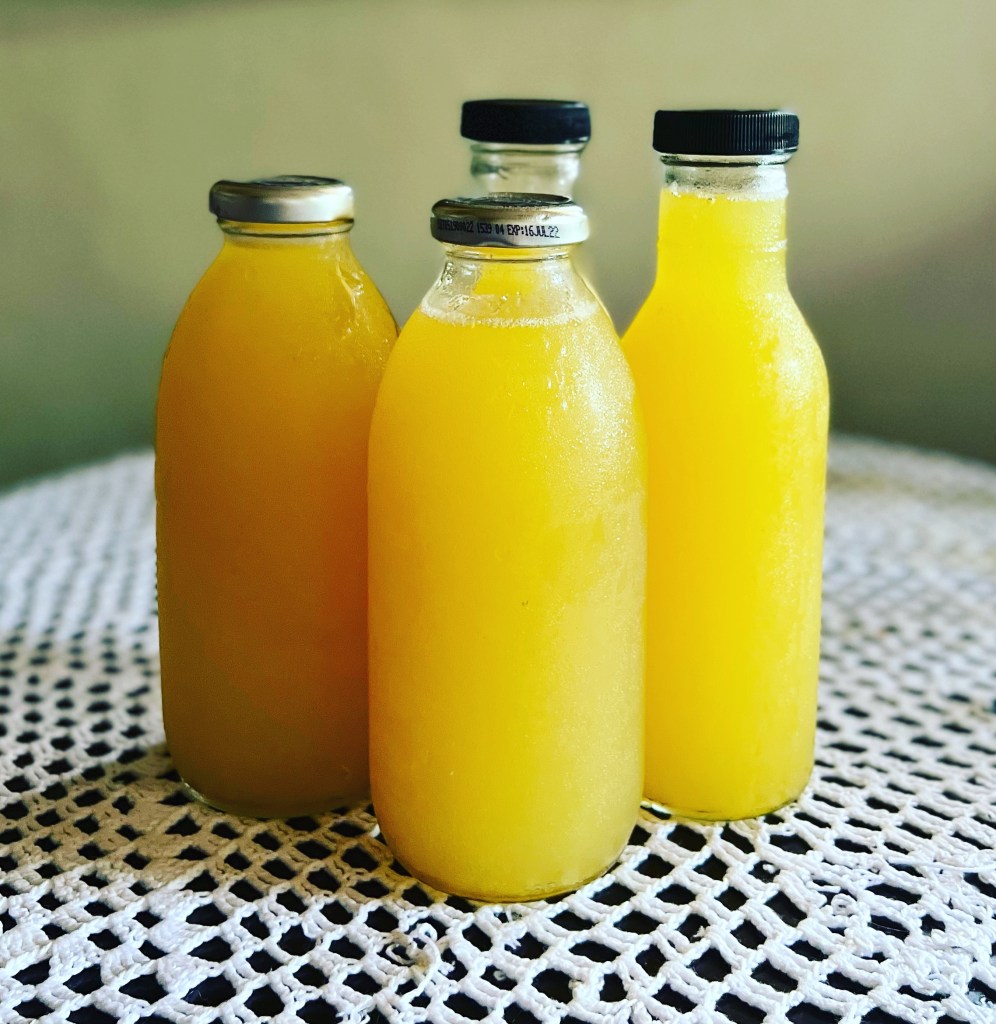
After 15 minutes, pour the hot juice in a bottle or jar that has been sterilized. Seal and then process it in a boiling water for another 15 minutes to sterilize it. Let it cool after, dry and store it.
You may reuse bottles and jars. I use a bottle from this well-known tea and sauce brands, cause they look lovely. Also I prefer to live sustainably so I’d rather reuse than buy new ones.
Step 5: You may store your finished product in a dry place, no need to refrigerate, that is if you’ve properly followed the sterilization and pasteurization process.
On the other hand I prefer to refrigerate my finished product because I wanted to drink it cold, also refrigerating it extended the shelf life.
My refrigerated juice still tastes great after 4-5 months on the 6th month it kinda turn into a cider already 😂 You might ask me why, because I did not add any preservative like sodium benzoate or citric acid.
If you want to add preservative here’s the ratio: 0.5g sodium benzoate per liter of juice and 3g citric acid/ liter of juice.
TIP: Do not throw the pulp, it still has juice in it, so why don’t you make a marmalade instead? Which I did by the way!
That’s it, very simple and easy to do at home! You get to consume natural and sugar free juice drink at the same time you save Mother Earth by repurposing materials, reducing waste (you used even the pulp) oh the skin you can just dump in your compost! Also reducing purchase of commercial produced goods reduces waste too!
I hope you try this and let me know if it was successful cheers!
-Lyn

Leave a comment